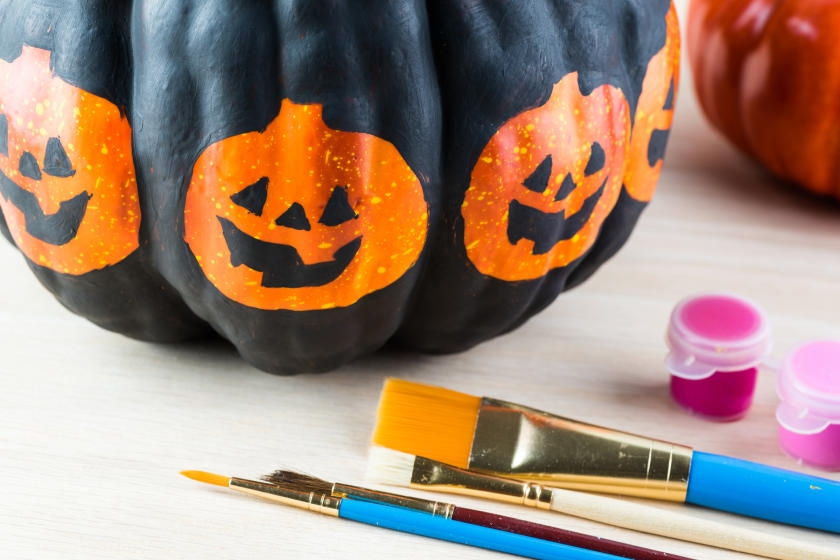
It’s Halloween season and time to get crafty to scare up some devilish décor. If you’re looking to avoid the mess of carving pumpkins into ghoulish goblins and ghosts, try painting them instead with delightfully scary designs. Follow this guide on how to paint a pumpkin and use your imagination to create a menagerie of ghastly gourds. It’s a fun project for the entire family!
Step 1: Pick a Pumpkin
Find the perfect pumpkin or pumpkins. An ideal pumpkin for painting has a mostly smooth surface with few blemishes. Pumpkins with dents and bumps will be harder to paint with a brush. Pick a pumpkin that is relatively fresh and won’t rot quickly.
Clean the pumpkin with a damp cloth. Use some mild detergent, if needed. Dry the pumpkin as much as you can with a towel and then set it aside to air dry completely.
Step 2: Decide on a Design
Choose designs to paint on your pumpkins—your choices are only as limited as your imagination. Brainstorming pumpkin painting ideas with the family is fun in itself. Search online or peruse magazines and books for ideas. Print or cut out your favorites and use these as your guide when painting. You can paint favorite pop culture characters, Halloween mainstays such as cats, spiders, creepy creatures or ghosts, seasonal messages, or even abstract designs—chevrons, checkered patterns and more. It’s completely up to you.
Step 3: Paint the Pumpkin
Find a workspace and start painting. The kitchen table is fine—cover it with newspaper or plastic sheeting and place a drop cloth on the floor to protect surfaces from any paint spills or splatter. Organize and lay out your painting tools and materials so that they are within easy reach. If possible, sketch your design on the pumpkin before you paint, using a pencil or marker. Stencils can be great tools to use when painting on a pumpkin. Additionally, if you need to create straight lines or other particular shapes for your design, you can use painter’s tape to mask the pumpkin’s surface so you only paint what and where you intend to and keep the design looking crisp.
If you plan on painting the pumpkin with a base color, do that first. Let it dry completely before tracing or stenciling. For painting a base color, try True Value EasyCare Premium Décor Spray Enamel for quick and easy application.
You can accomplish the more intricate painting strokes using EasyCare Premium Décor Enamel brush-on paint and a small paintbrush, foam brush or painting sponge. Apply your painted design and let the paint dry for the amount of time recommended on the can label.
Helpful Tip
Keep a wet rag handy to wipe up mistakes before the paint sets.
Step 4: Apply Sealant
Conserve your painted design by spraying your pumpkins with a coat of clear craft sealer. This coating will protect the pumpkin’s surface from the elements, particularly if your gourds are displayed outside. Let the sealer dry completely.
Step 5: Finish Up
You’re almost done. If you want to add more decorative items to your pumpkins, now is the time. You can sprinkle glitter on them, glue on yarn for hair, or add googly eyes or decorative beads—it’s up to you. Clean up your workspace. Carefully throw away newspaper and plastic sheeting to avoid spilling any wet paint, pick up drop cloths and close up your paint cans.
Arrange your pumpkins on your porch, in your yard, on windowsills—wherever you think your home needs bit of “boo.”
That’s it! Your painted pumpkins will delight and spook family and guests alike.
Project Shopping List
Here’s what you’ll need to complete this project successfully.


