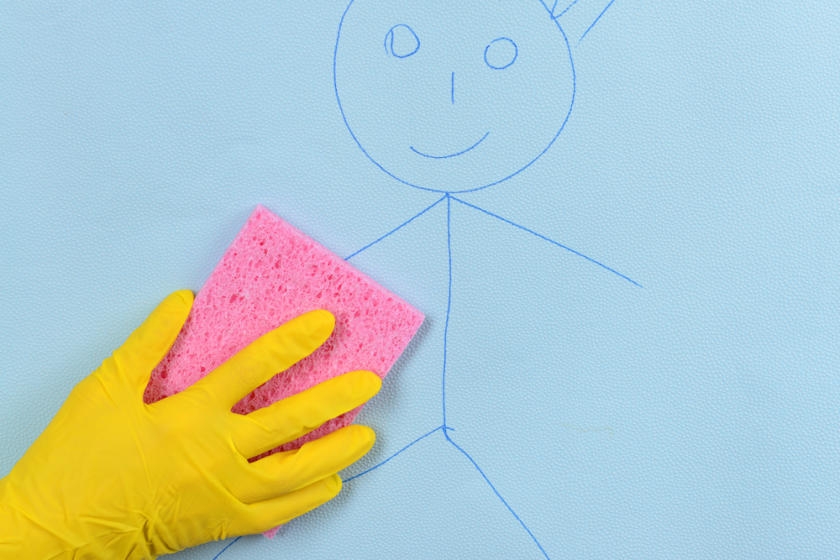
Even the most beautifully painted walls get grungy over time. Life is messy and walls eventually collect fingerprints, smudges, splashes and spills. Maybe your children decided to make a mural with crayons or you’ve simply let dust build up and need to remove it. There are ways to safely clean your painted walls without washing away the finish. Keep reading to learn how.
Step 1: Prepare Your Work Area
Start by preparing the space where you’ll be working. Move furniture and other objects away from the walls or cover them with drop cloths. Remove pictures, artwork, etc. and use pieces of painter’s tape to mark where the nails or other hanging hardware are located. This will help you keep track of where the frames were located, and protect your hands from accidentally coming into contact with sharp objects while cleaning.
Lay down canvas drop cloths and secure them with painter’s tape to keep them from moving around. This will keep soapy, dirty water from dripping or running down the walls onto your floor. Avoid using plastic drop cloths, as they don’t absorb water.
Use a duster and/or a damp cloth to wipe dust and surface debris from the walls before cleaning with soap and water. You can also use your vacuum cleaner’s extension wand to suck up dust and debris from hard-to-reach locations, corners and along the trim.
Step 2: Prepare Cleaning Mixture and Tools
Combine an all-purpose household cleaner or dishwashing liquid with water in a bucket, following the manufacturer’s recommendations for a proper mixture. You want enough soap to thoroughly clean the walls but not so much that it will leave a soapy residue on the surface. Usually, an ounce of cleaner and a gallon of water are good for removing mildly soiled walls.
Helpful Tip
Avoid washing with dishwashing liquid that contains lanolin, as it can leave a residue on wall surfaces.
Fill another bucket with just water, to use for rinsing.
Heavily soiled surfaces, such as those with greasy or oily residue, require a slightly stronger approach. Create a solution using a gallon of water and one cup each of ammonia, white vinegar and baking soda. You can also use trisodium phosphate (TSP) to remove tough, caked-on grease and other heavy soils. Just remember to spot test how it might affect the finish, as it is fairly caustic. Mix TSP powder and water in a bucket, according to the manufacturer’s instructions.
Safety Alert!
Use TSP as directed by the manufacturer. Be sure to wear protective eyewear, clothing and rubber gloves during use.
Step 3: Spot Clean Wall Marks
Begin washing the walls by spot cleaning stains, marks, etc. Blemishes made by crayon, pencil, and marker, as well as scuffs, can be removed with baking soda and water. In a small cup, mix the water and baking soda together to make a paste. Rub the paste into the stain, using a cloth or an old toothbrush. Then wipe the area with a clean cloth. You can also try products such as Mr. Clean Magic Eraser, which are designed for removing crayon marks and the like. Now you’re ready to start cleaning the entirety of each wall.
Step 4: Clean the Walls
Dip a sponge in the bucket containing your cleaning solution and wring out excess water. Dip a second sponge in your rinse bucket and wring out excess water. Start at the bottom of the wall. This will ensure that any water running or dripping down as you clean won’t adhere to dirt and debris on the wall, and potentially leave stains. Rub the surface lightly in a circular motion, working small areas at a time. Go over the area you just cleaned with the wet sponge to remove soap residue and any dirt. Dip the rinsing sponge again in the bucket of water and wring out excess water. Continue working in this manner until you have completed cleaned the entire wall. Change the water in the rinsing bucket when it becomes cloudy or too dirty to use for rinsing.
If you’re unable to reach the higher parts of the walls, use a stepladder.
Safety Alert!
Be sure your stepladder is in good working condition and is properly placed on the floor. Never stand on the top step of a stepladder. If you need more reach, use a folding ladder that will provide more height. For more ladder safety tips see the project, Ladder Safety.
Avoid taking breaks until you’ve completely finished a wall; and then rest before you begin a new one. Otherwise, you may leave visible streaks or lines indicating where you stopped washing.
When you’ve finished cleaning a wall, use a clean cloth or towel to wipe up any remaining drips and remove excess moisture.
Great work! Your walls have been cleaned and the paint finish looks as beautiful as ever.
Project Shopping List
Here’s what you’ll need to complete this project successfully.


