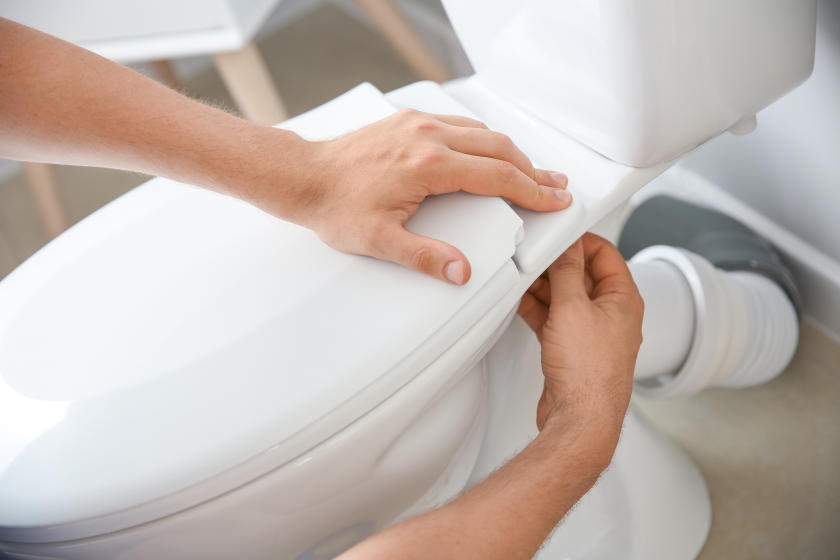
If your toilet is out of date and not very water-efficient, it may be time to start over by installing a new one. Here’s how:
Step 1: Empty Toilet
Shut off the water to the toilet. If you don’t have an angle stop shut-off valve by your toilet, you need to shut off the water at your home’s main shut-off valve. Flush the toilet several times to remove water from the bowl and tank. Then soak up any remaining water with a mop or sponge.
Step 2: Take Off Supply Tube
Disconnect the water supply tube. This is the tube that attaches from the shut-off valve to the toilet tank. Unscrew from the tank.
Step 3: Remove the Tank
If you have a one-piece toilet, proceed to Step 4. If your toilet is two pieces, you’ll have to remove the tank first. Reach inside the tank and unscrew the bolts that attach to the toilet. Use an 8″ wrench to grasp the washer under the tank and use the screwdriver to turn the bolt. You should now be able to remove the tank by lifting it.
Step 4: Detach Bowl from Floor
Be prepared to get some water on your floor. Take off the caps that are over the bolts in the floor. Unscrew the nuts using the 8″ wrench. You may need a hacksaw to get these off if they are corroded.
Tilt the bowl forward and rock it from side-to-side. Lift the bowl from the floor. There is less spillage if the bowl is tilted forward. Put a rag into the pipe leading from the floor to keep the smell of sewer gases from coming into the bathroom.
Pry off the old wax seal that is around the pipe on the floor with a putty knife. Remove the old bolts from the floor, even if you didn’t cut them with the hacksaw. You’ll replace them with the bolts that come with the new toilet.
HELPFUL TIP
To reduce spillage, put a pan next to the toilet. When you remove the bowl, dump the excess water into it.
Step 5: Attach Wax Seal
Turn the new bowl over and put on the new wax or rubber seal around the hole. Place a new wax ring over the drain horn. If the ring has a rubber or plastic sleeve, the sleeve should face away from toilet. Apply a bead of plumber’s putty to bottom edge of toilet base.
Step 6: Install New Bowl
Turn the bowl back over and position it so the bolts fit through the holes. Twist the bowl a bit to make sure it is in the right place. Press the bowl down to the floor to compress the seal — the best method is to sit on the toilet and rock back and forth. Tighten the nuts on the bolts while you’re seated.
Don’t over-tighten the bolts or you can crack the porcelain. Make sure the toilet is level. Use little planks of wood to shore up the toilet to make it level. Over the next few days, the toilet will settle some, so occasionally tighten the nuts so they are snug.
HELPFUL TIP
Dump some water into the bowl to check for any leaks out of the bottom. If there’s water leakage, try to compress the wax seal more. If that doesn’t work, you need to start over with a new wax seal.
Step 7: Replace Tank Parts Inside and Reattach Tank
Install the handle, flush valve and float cup ball cock. Once these are in place, attach the tank to the bowl. If you have a one-piece tank, proceed to Step 8.
For all other models, turn the tank over and attach the spud washer over the tailpiece of pipe. Turn the tank back over and position it so the spud washer fits into the hole on the seat. Attach the tank to the toilet using the washers and bolts provided. Make sure they are tight by holding onto the washer with the wrench and turning the bolt with a screwdriver. Be careful not to over-tighten the bolts or you risk cracking the base. Attach the chain on the rubber stopper to the handle lever and make sure it is somewhat taut.
Step 8: Attach Supply Tube and Turn on Water
Reconnect the supply tube to the new tank. Put the compression nut onto the supply tube, followed by the compression ring. Make sure the threads of the compression nut face down toward the valve. Put joint compound onto the compression ring and place the tube into the supply valve. Slide the ring and nut onto the threads.
Use a wrench to tighten the nut. Connect the tube to the tank using a compression nut. Open the shut-off valve and let the tank fill with water. Test the toilet by flushing a few times. Put on the toilet seat cover and clean up.
That’s it! No more jiggling the handle of a troublesome toilet.


