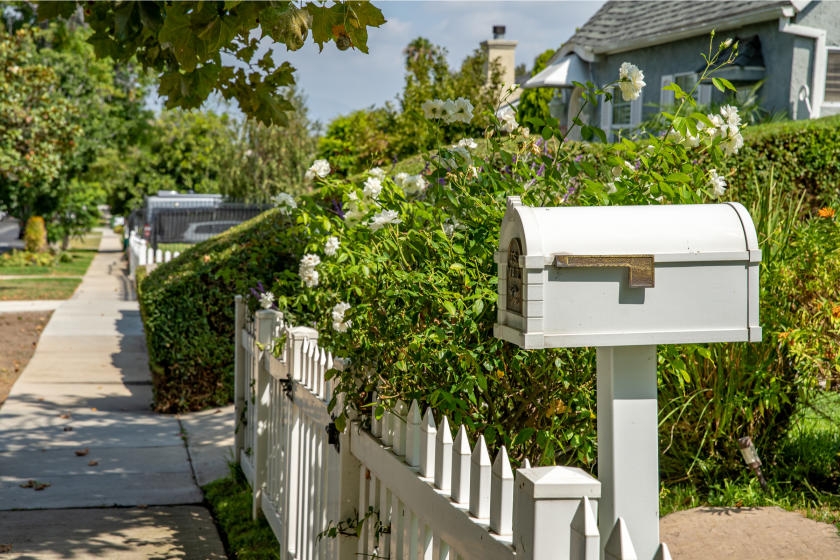
Putting in a post-mount mailbox is a simple way to add to your home’s curb appeal and to put your personal stamp on your property.
Step 1: Choose a Post-Mount Mailbox
Before you begin, contact your local post office to check mailbox regulations. If you are moving your mailbox or mailbox post, the Postal Service needs to approve your mailbox. Find out how high your mailbox needs to be and how far it should be from the road. The common mailbox regulation height is 42″ from the bottom of the mailbox to the ground. You will have to place it away from the curb about 6 to 8” from the side of the road. Your mailbox must also be on the right-hand side of the road and in your mail carrier’s direction of travel. This allows the postal worker to safely pull over to deliver your mail.
There are a variety of mailbox kits to choose from and many include mounting posts. When choosing the style, consider the architectural design of your home. You can go with a practical, no-nonsense mailbox or choose a more creative option to add your own personal touch.
Step 2: Dig a Post Hole
Use a post-hole digger and excavate about twice as wide as the diameter of the post and about 2′ deep. Add 6″ of gravel at the bottom to help with drainage. Place the mailbox post into the hole and check to see if your mailbox will meet the height specifications per your post office’s regulations.
SAFETY ALERT!
Before digging, contact your local utility companies to see if there are any underground power or gas lines nearby.
Step 3: Prepare Concrete
Following the manufacturer’s directions, mix quick-drying concrete and water in a large bucket or wheelbarrow.
Step 4: Plant the Mailbox Post
Hold the mailbox post so it’s centered in the hole. It helps to have someone hold the post steady as you shovel the prepared concrete mix into the hole. Use a level to make sure the post is straight. Slope the concrete around the base of the mailbox post to allow for water runoff. Level the concrete off with a shovel, just a few inches on top of the hole. To reduce any air pockets, poke a small stick into the concrete in a few random places.
HELPFUL TIPS
If you don’t have another person to assist you, use two long pieces of rope or wire to steady the mailbox post as you pour. Tie the rope or wire around the center of the post and use two stakes to secure the post in an upright position.
If you want to conceal the concrete, pour it within a few inches of the top of the hole and cover it with soil after the concrete has set.
SAFETY ALERT!
Be sure to wear goggles, gloves, and protective clothing while working with concrete, because it may irritate your eyes and skin.
Step 5: Attach the Mailbox
Let the concrete dry overnight. Once it has set, follow the instructions to attach your mailbox to the top of the mailbox post.
HELPFUL TIPS
Attachment brackets should be included with your mailbox. If not, you can purchase standard 4×4 brackets to attach the mailbox to the post.
Your house number should be clearly marked on the mailbox. Use numbers that are at least 1″ high, so they are easy to read.
Good job! Your attractive new mailbox boosts your curb appeal.
Project Shopping List
Here’s what you’ll need to complete this project successfully.
- Mailbox kit and post
- Post-hole digger
- Gravel
- Long-handled shovel
- Quick-drying concrete mix
- Large bucket
- Wheelbarrow
- Level
- Small stick
- (2) Long pieces of rope or wire (optional)
- (2) Stakes (optional)
- Soil (optional)
- Safety goggles
- Gloves
- Protective clothing
- 4×4 Attachment brackets (optional)
- 1″ address numbers (optional)


