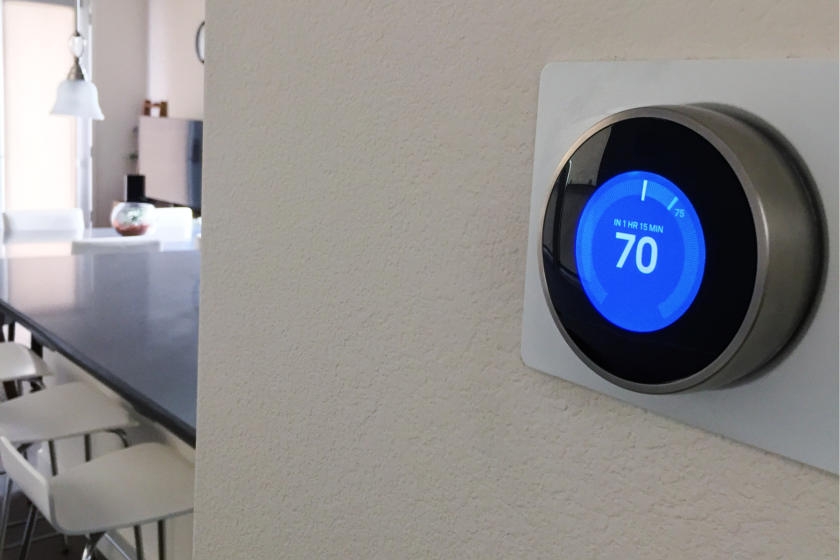
A programmable thermostat is a great investment for your home. It allows your HVAC system to regulate temperature settings automatically, making adjustments for different times of the day or night. This can save you a great deal of money on utility bills.
You don’t need a professional to install your programmable thermostat. You just need a little know-how and an hour or so to get it done. Follow the instructions below to start saving on your heating and cooling costs.
Step 1: Find the Right Thermostat
There are many types of programmable thermostats available. Find out which one is best for your needs and budget. Do some online research or ask an expert at your local True Value hardware store for assistance.
Step 2: Turn Off Power
Shut off power at the breaker box for your HVAC system or existing thermostat. If you are not sure which circuit breaker is the correct one, turn off the main power supply for the whole house to be safe. The wires connecting most thermostats are usually low-voltage and moderately safe to work with, but it’s better to be safe than sorry because there’s still a chance of electric shock.
Safety Alert!
Make sure the circuit is truly “dead” before touching any wires. Check for power using a high-voltage neon circuit tester.
Step 3: Remove Old Thermostat
Take off the old thermostat’s cover and disconnect the wires from the thermostat terminals. If they are not clearly marked, take note of which wires connect to which terminal on the thermostat and label them with a pen and masking tape so that you can attach the wires correctly to the right terminals on the new thermostat. Remove the screws securing the old thermostat to the wall to detach it.
Helpful Tips
The wires may try to slip back into the hole in the wall where the old thermostat was installed. Don’t let this happen! Tape them to the outside of the hole to keep them from disappearing into the wall and making your job that much harder.
Safety Alert!
Depending on the age of your old thermostat, it may contain a small tube of mercury. Be careful that you don’t break this tube or otherwise release the mercury into your home. Exposure to mercury can be hazardous. Check with your local authorities to see how you should dispose of an old thermostat that contains mercury.
Step 4: Mount Programmable Thermostat
Note: You should follow the manufacturer’s installation instructions for the particular thermostat you have purchased. This step is a general guide for how most units are installed.
You may luck out and find that the new thermostat can be mounted onto the wall using the same anchor points as the old thermostat; however, that is unlikely. If it isn’t possible, you will need to create new anchor points to attach the new thermostat plate to the wall.
Place the new thermostat plate against the wall and use a level to ensure that it will be level when it is installed. Use a pencil to mark where the mounting screws will go. Then, use a power drill to make holes for the plastic wall anchors that were included with the new unit. Push the wall anchors into the drilled holes.
Thread the thermostat wires through the new thermostat’s mounting plate and then secure the plate to the wall by using the screws provided and screwing them into the wall anchors.
Attach the thermostat wires to the appropriate terminals on the new thermostat by wrapping the wires around the terminals and then tightening the terminal screws. Snap the new thermostat unit onto the mounting plate.
Step 5: Activate the New Thermostat
Install the programmable thermostat’s battery. Restore power to your HVAC system and follow the manufacturer’s instructions on how to program and operate the new thermostat.
That’s it! You’re done. Now, you can start saving money and energy while heating or cooling your home.
Project Shopping List
Here’s what you’ll need to complete this project successfully.


