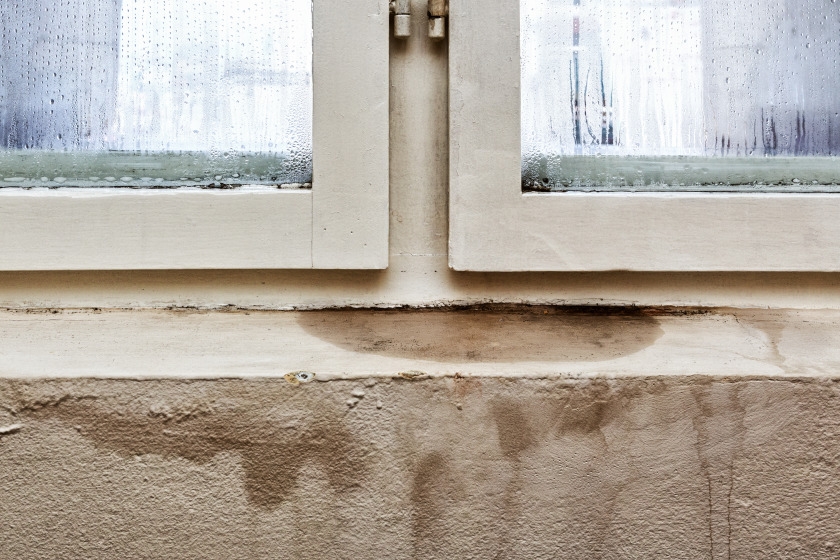
The basement is the foundation of your home, so rightfully you worry if you see moisture on walls or floors. If not taken care of, it can spell major problems.
Don’t panic if you have a leak. You can waterproof your basement to dry it up and hold back any encroaching water.
Basement leaks are one of the most frustrating problems faced by homeowners. They can pave the way for a number of potential problems, including mold and mildew, unwanted insect and rodent infestation. Not to mention the damage infiltrating water can do to your foundation.
Luckily, waterproofing is a DIY project you can finish with a bit of time and effort. It will protect basement walls and floors from the damaging effects of water penetration by sealing porous masonry above and below the ground level to form a watertight coating. This stops leaks and holds back the flow of water, even under pressure, and helps keep basements dry.
Step 1: Pinpoint the Problem
A wet basement wall may mean you have a larger problem on your hands. Water may be coming in from a variety of sources. Check for leaky downspouts or gutters that allow water to pool alongside your foundation. Blocked drainage pipes and improper grading or ruts that direct ground runoff toward your foundation are also major culprits. Correcting these problems, as well as waterproofing your basement walls, is the best way to prevent masonry surfaces from leaking.
First, determine if water seepage or condensation is causing your wet walls. Using duct tape or other strongly adhesive tape, tightly attach a 1′ square of aluminum foil to an interior basement wall and leave it for several days. Remove the foil. If the room side of the foil is wet, the problem is condensation. Run a dehumidifier in your basement to help get rid of this condensation. If the wall side is wet, the problem is seepage. Note: unfortunately, both problems can occur at the same time.
Water seepage can also occur at the floor/wall joint. When concrete floors cure, they shrink and pull away from the wall, allowing a space for water to enter. You must seal all gaps between floor and walls with hydraulic cement to prevent seepage (see more on this in Step 4).
Step 2: Surface Preparation
If you have puddles or pools of water from a leak, remove anything that may become damaged and clean up the water with a mop or towels. Remove any mold or mildew that might have formed (see project How to Remove Mold from Walls).
Next, remove any loose or broken mortar, dirt, dust or other debris around the leak, using a broom or stiff brush. Clean the surface thoroughly. Waterproofing works best when applied to a clean, bare masonry surface.
To remove old paint, use a wire brush or sandblast the surface. Use muriatic acid to get rid of efflorescence — white, crystal-like salt deposits that form on the wall from moisture. Any efflorescence left on the wall will prevent a sealant from sticking to the wall. Any holes should be patched with hydraulic cement.
Safety Alert!
Muriatic acid is highly corrosive and can be harmful to your skin. Wear protective clothing, safety goggles and protective gloves when working with muriatic acid. The fumes from muriatic acid can also be harmful. Be sure you’re working in an area with proper ventilation. In a basement, you may need an exhaust fan to help ventilate the area. Muriatic acid can also damage other surfaces. Take care when applying the muriatic acid to walls.
Step 3: Seal Walls
Now that you’ve prepped the surface, you’re ready to apply sealant to your basement walls. For the best results, apply the first coat with a nylon or polyester bristle brush. The second coat can be applied with a brush or masonry roller. Work sealant thoroughly into the pores of the masonry surface. After using the first gallon, measure the area covered. It should be about 75 to 100 square feet. If the area is more than this, you’re spreading the sealant too thin.
Apply a second coat over the entire wall surface. If seepage is still present after several days, tiny pores or pinholes are still open, then apply an additional coat to these areas.
Helpful Tip
Sealant won’t adhere to a wall with a temperature less than 50ºF. Also, most wall sealants aren’t made to withstand foot traffic, so don’t use them to waterproof your basement floors.
Step 4: Foundation Repair: Seal Floor Cracks
Water that leaks through your basement floor usually gets there at the floor/wall joint or via cracks from the foundation/floor settling over time. Apply hydraulic cement to this joint to seal it.
To fix a floor crack, open it up using a chisel and hammer. Make the inside of the crack larger than the outside by chiseling at an angle. This will allow for a better seal. Clean out the concrete pieces and dust in the crack with a stiff brush.
Safety Alert!
Wear safety goggles when using the chisel and hammer. Concrete and cement can chip and potentially project small particles into your eyes.
Following package instructions, mix hydraulic cement with water in a bucket. Use a trowel to mix it and combine the two until the mix is homogenous. Dampen the crack by misting it with water from a spray bottle then pour the hydraulic cement mixture into the crack. You should pour to within ¾” from the floor surface. Let this dry for an hour or two then add another layer of cement mixture over the crack. Use your trowel to make the cement patch level and smooth with the floor surface.
Congratulations! You’ve rid your basement of leaks and it should remain dry for years to come.
Project Shopping List
Here’s what you’ll need to complete this project successfully.


