This time of year I start dreaming of the beauty of spring. The anticipation of being outdoors back in the garden really helps get me through the last bit of grey, dreary weather.

While a majority of our spring bulbs are planted in the fall, there is one gardening project I like to save for these last few months of winter. It’s a project my little guy and I look forward to plus it gives us a chance to get our hands in some dirt!
As reliable and fail-proof as most bulbs are – there sure is a ton of information out there making them seem quite complex and complicated. I have always admired the variety of bulbs and beautiful blooms seen in store displays and used to be intimidated to purchase them as I often thought a bloom that spectacular must require a ton of care. Once I became familiar with just a few planting basics, bulbs quickly became one of my favorite secret weapons for a fabulous spring garden.

Planting a Spring Bulb Container
Materials Needed:
- Large Planter
- Potting Mix
- Spring Bulbs (three different varieties – see details below)
- Mulch

The basic concept of this easy container garden is to choose a variety of three different bulbs in which the bloom times overlap. This will provide early, mid and late blooms, all season long, in one planter.
The planter can be potted as early as the late fall and kept indoors during the winter months. We like to keep ours in our basement, which is cool enough to keep the bulbs dormant – yet warm enough to prevent freezing.

The key to perpetual blooms is layering the bulbs as they are planted. Mid and late blooming bulbs should be planted on the bottom layer and earlier blooms should be planted on top.
Choose a large planter with adequate drainage and fill the base with potting soil. Begin planting the first layer of bulbs. This layer should be larger bulbs like Tulips or Allium.

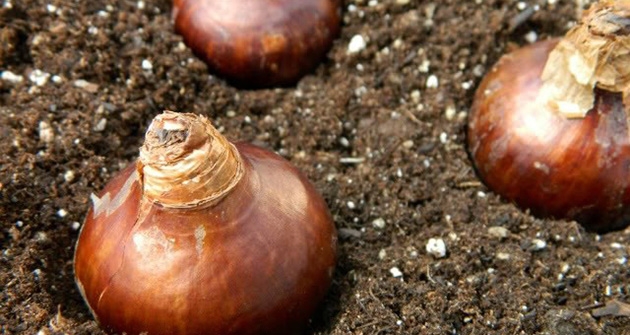
Position the bulbs close together, pointy side up, and intermix them if you are using different varieties.
Cover that layer of bulbs with 3 inches of potting soil – making sure the spaces in-between the bulbs are filled.

The next layer should contain smaller bulbs, like paperwhite ziva. This layer can be placed close together, even touching, as they will simply grow around each other.

The planter should then be topped with five inches of soil and a layer of mulch.
When spring finally arrives and the weather is free of frosts the planter will be ready to make the move outdoors. I love to use these planters on our patio and deck as they provide three waves of spring blooms to enjoy.
Once the blooms fade away the bulbs can be dug up and moved to the garden.
This is one of our favorite indoor projects to create this time of year as it gives us a little hope of spring. The bulbs are far less expensive than purchasing new flowers each year – plus they can be replanted in hopes of producing some additional blooms in our garden for years to come. I can’t wait to see them bloom! Happy Planting – By Stephanie Lynn


